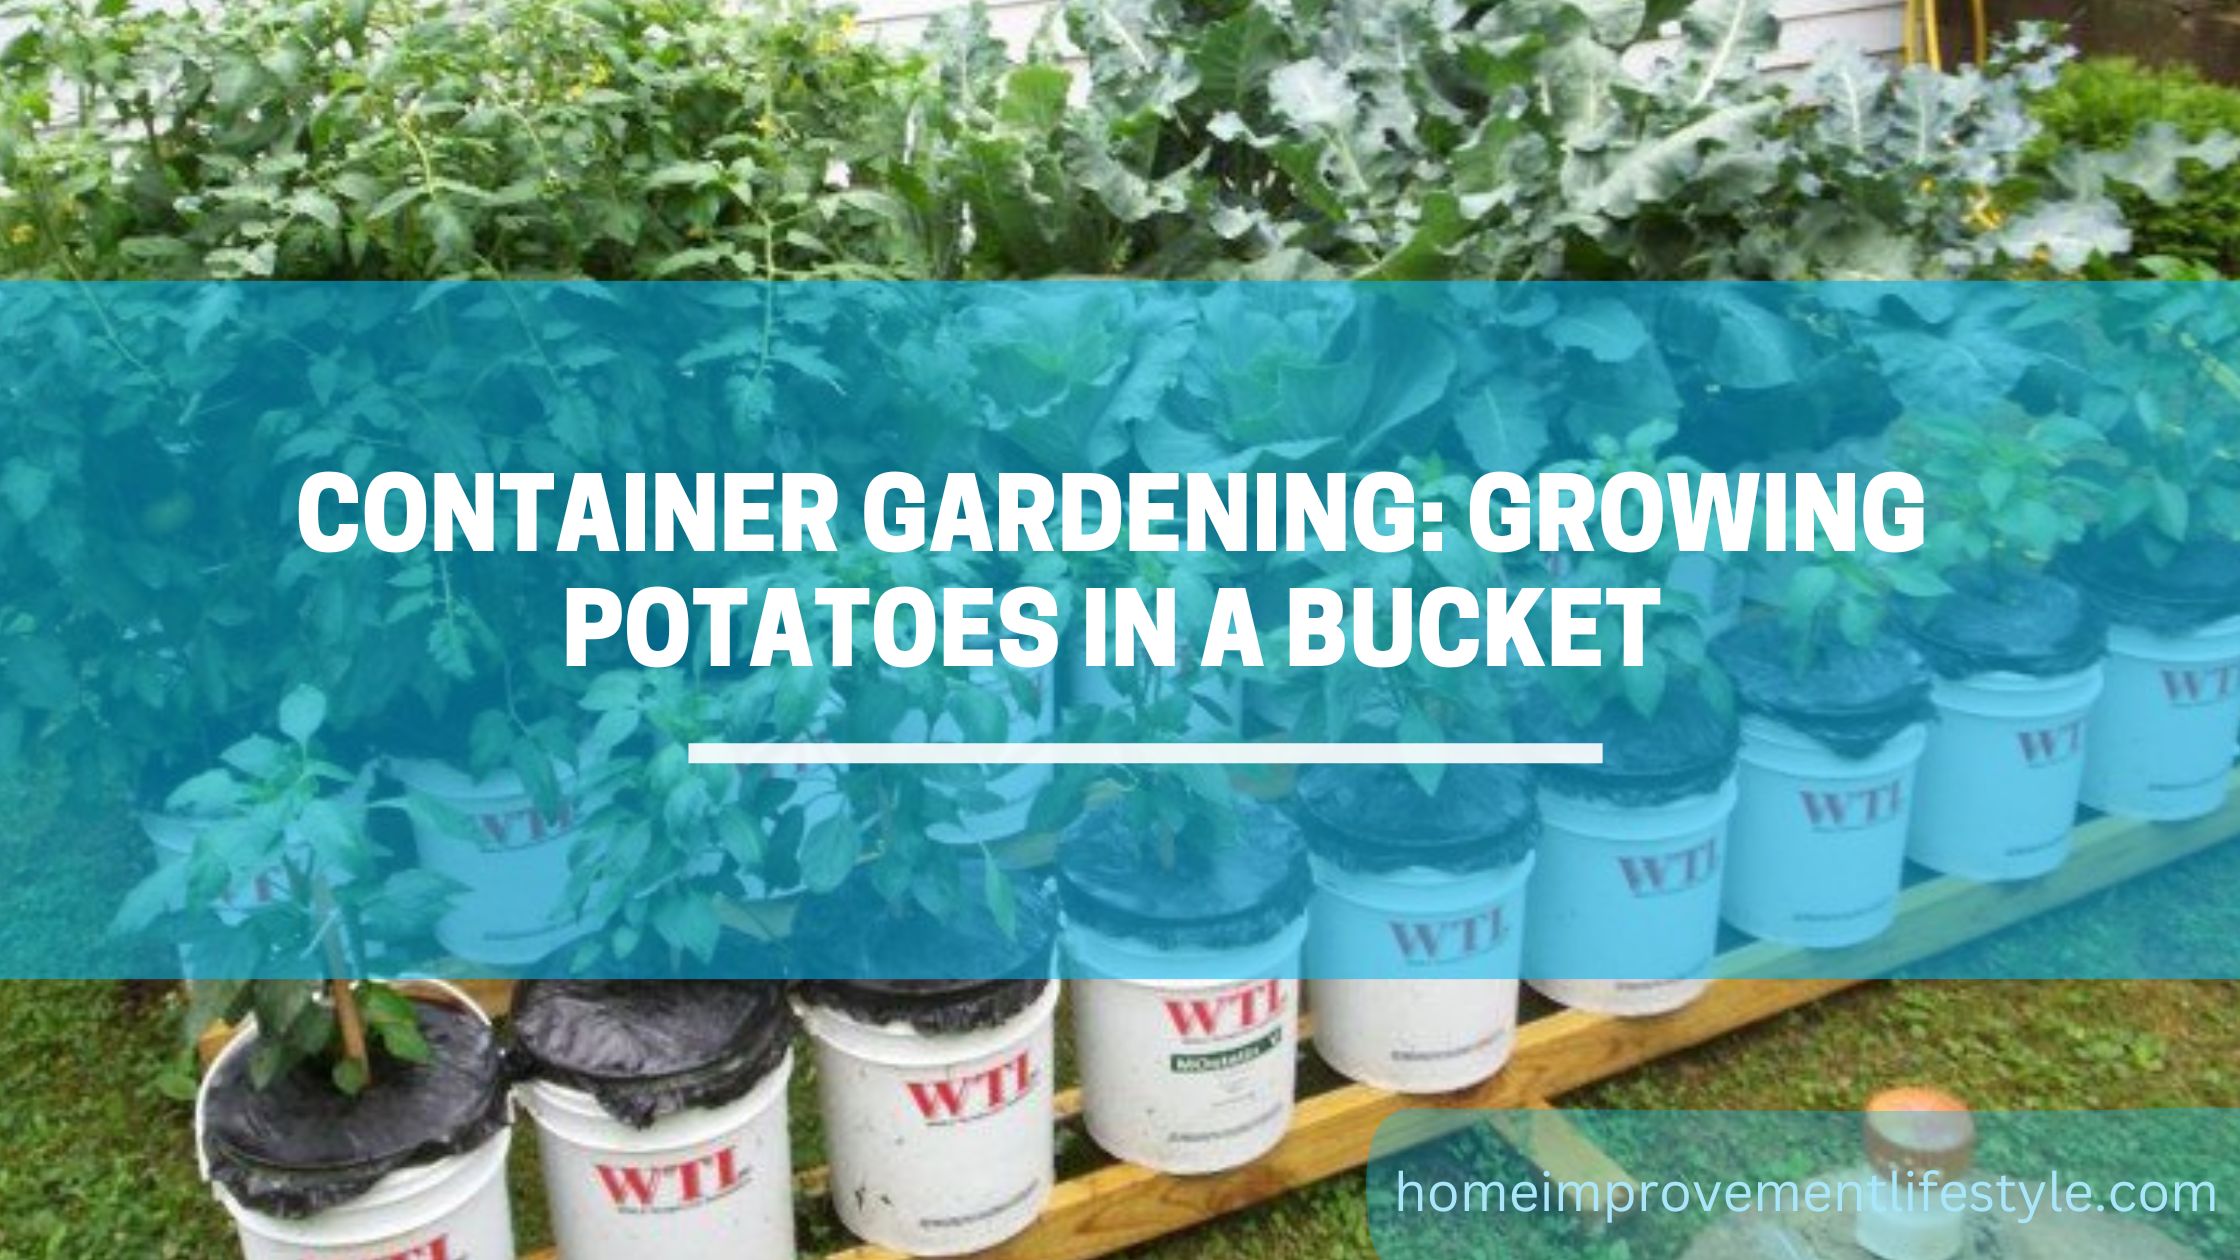
Container gardening is an excellent way to cultivate plants in limited spaces, making it a popular choice for urban dwellers and those with small yards or balconies. One versatile crop that can be grown in containers is potatoes. By planting potatoes in a bucket, you can enjoy a bountiful harvest of fresh, homegrown spuds. In this article, we will explore the step-by-step process of growing potatoes in a bucket and discuss the benefits of this method.
Selecting the Right Bucket:
To start your potato-growing adventure, choose a large, sturdy bucket that can hold an ample amount of soil. A 5-gallon (19-liter) bucket is typically an ideal size. Ensure that the bucket has drainage holes at the bottom to prevent waterlogging, which can lead to rotting.
Preparing the Potatoes:
Select healthy seed potatoes from a reputable garden center or use organic potatoes from your kitchen. If using whole potatoes, cut them into chunks. Ensuring that each piece contains at least one. “eye” or sprout. To reduce the risk of rotting allow the cut pieces to dry for a day or two before planting.
Preparing the Soil:
Potatoes prefer loose, well-draining soil rich in or plant potatoes in bucket organic matter. Create a potting mix by combining equal parts of high-quality potting soil and compost. This will provide the necessary nutrients for your potato plants to thrive.
Planting Potatoes in the Bucket:
Fill the bucket with about 6 inches (15 centimeters) of the prepared soil mix. Place the potato chunks, sprout-side up, on top of the soil, ensuring they are evenly spaced. Cover the potatoes with another 3 to 4 inches (7 to 10 centimeters) of soil.
Watering and Sunlight:
Water the soil thoroughly after planting to ensure even moisture. Throughout the growing season, water the potatoes regularly. Keeping the soil consistently moist but not waterlogged. Place the bucket in a sunny spot, as potatoes require at least six to eight hours of direct sunlight per day.
Caring for Your Potato Plants:
As the potato plants begin to grow, continue adding soil to the bucket, gradually covering the stems and leaves. This process, known as “hilling,” promotes the development of additional tubers along the buried stems. Hill the soil up to the top of the bucket, leaving only the top few leaves exposed.
Fertilization:
To encourage healthy growth, consider adding a balanced, slow-plant potatoes in bucket release organic fertilizer to the soil. Follow the instructions on the fertilizer packaging for the correct application rate and frequency.
Pest and Disease Control: Planting potatoes in a bucket
Keep an eye out for common potato pests, such as aphids and potato beetles. Regularly inspect the leaves and stems for any signs of damage or infestation. we could use organic pest control methods or consult a local gardening expert for advice.
Harvesting:
Potatoes are typically ready for harvest. When the plants have reached maturity and the foliage begins to turn yellow and die back. Carefully dig into the soil and retrieve your bucket potatoes. Enjoy the satisfaction of homegrown spuds and savor their delicious flavor.
Benefits of Growing Potatoes in a Bucket:
Growing potatoes in a bucket offers several advantages. Firstly it allows you to grow potatoes in a compact space making. It ideal for small gardens, balconies, or even indoors. Additionally container gardening provides better control. Over soil quality and moisture levels. Reducing the risk of diseases and pests, it also simplifies the process of soil preparation and prevents weed competition. Furthermore, container-grown. Potatoes are less likely to suffer from soil-borne diseases. Making them a reliable option for a successful harvest.
In conclusion growing potatoes in


