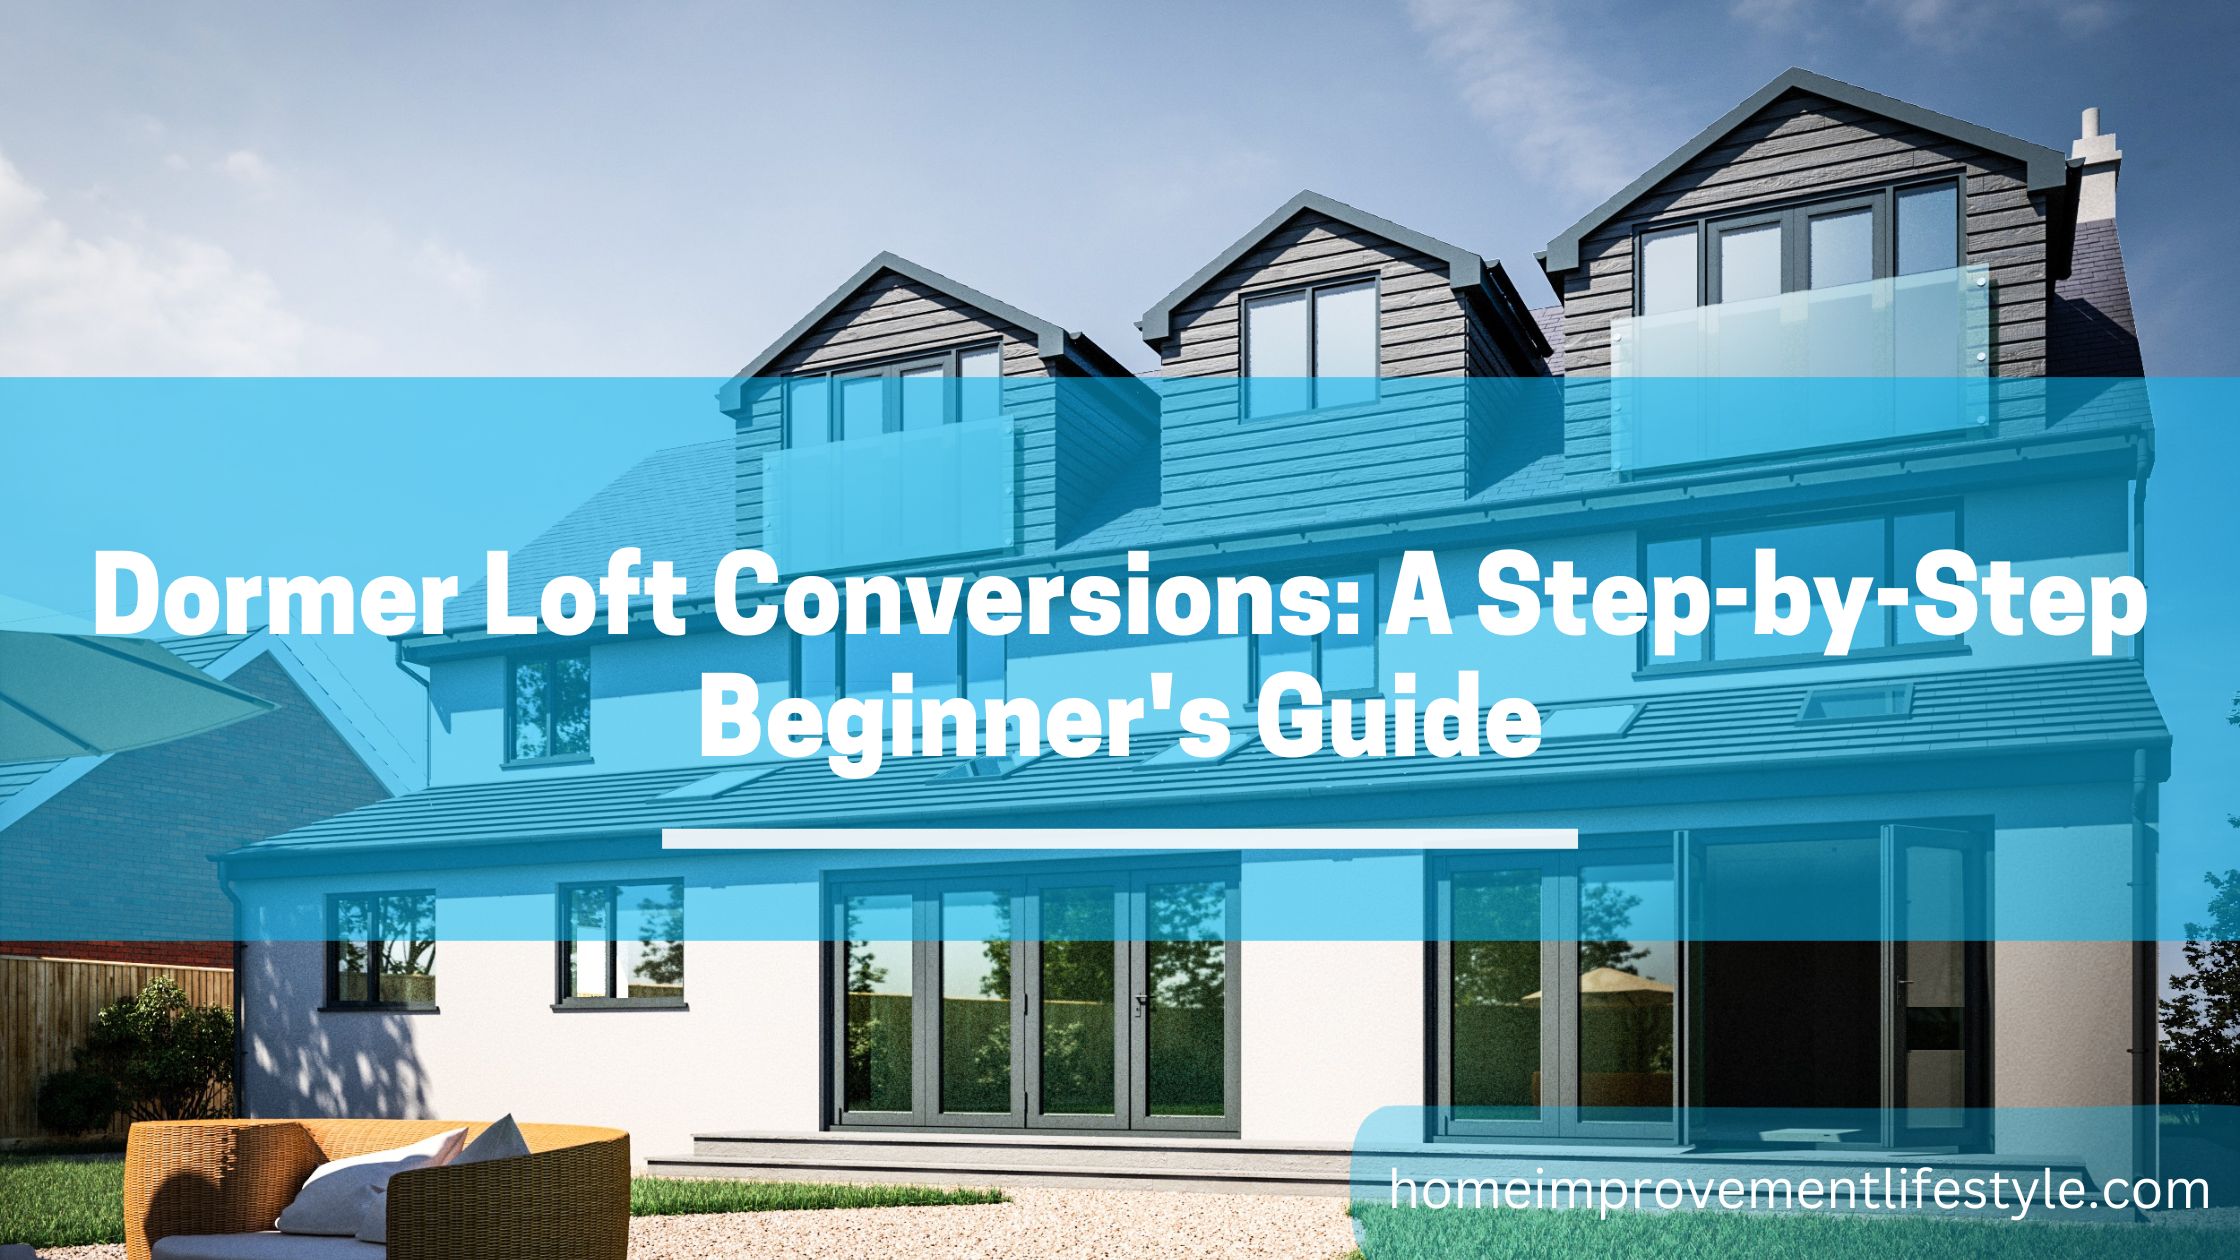
Are you looking to make the most of the untapped potential in your home? Dormer loft conversion are an excellent way to add extra space and value to your property. Whether you want to create an additional bedroom, a home office, or a playroom, this step-by-step beginner’s guide will help you navigate the process with confidence.
Assess the Feasibility
Before you dive into a dormer loft conversion project, it’s essential to assess the feasibility. Check if your loft space is suitable for conversion by considering the following factors:
Ceiling Height: Ensure you have a minimum ceiling height of around 2.2 meters (7.2 feet) in the loft area. This will make the space comfortable and compliant with building regulations.
Roof Structure: Examine the roof structure to determine if it can support the weight of a dormer and the added load from the conversion.
Planning Permissions: Check with your local authorities to see if you need planning permission for the conversion. In some cases, permitted development rights may apply, allowing you to proceed without planning approval.
Budgeting and Planning
Once you’ve established the feasibility, the next step is budgeting and planning:
Budget: Set a realistic budget for your project. Take into account all costs, including those related to construction, materials, permits, and any unforeseen expenditures
Design: Work with an architect or designer to create a layout that maximizes the space and meets your needs. Think about the placement of windows, access points, and the overall aesthetics.
Building Regulations: Familiarize yourself with local building regulations and ensure that your design complies with them. This may include fire safety, insulation, and structural integrity requirements.
Hiring Professionals
Dormer loft conversion are complex projects that often require a team of professionals:
Architect or Designer: Collaborate with a qualified architect or designer to create detailed plans and drawings.
Builder: Hire an experienced builder with a track record in loft conversions. Get recommendations and check references before making a decision.
Structural Engineer: If necessary, consult with a structural engineer to assess the roof’s load-bearing capacity and design necessary supports.
Building Inspector: You’ll need a building inspector to ensure your project complies with building regulations at various stages of construction.
Obtain Necessary Permits
Depending on your location and the extent of your dormer loft conversion, you may need to obtain permits or approvals:
Planning Permission: If your project doesn’t fall under permitted development rights, you’ll need planning permission from your local authority.
Building Regulations Approval: Regardless of planning permission, you must obtain building regulations approval to ensure your conversion meets safety and quality standards.
Construction
It’s now time to start the actual work:
Scaffolding: Erect scaffolding to provide safe access to the loft area. This is essential for both construction and ensuring the safety of workers.
Roof Alterations: Depending on your design, the existing roof may need to be altered to accommodate the dormer. This can involve removing sections of the roof, so it’s crucial to have experienced professionals handle this.
Dormer Installation: Build the dormer structure, which typically includes windows or dormer cheeks. Ensure proper insulation and roofing to maintain energy efficiency and prevent leaks.
Electrical and Plumbing: Plan the placement of electrical outlets, lighting, and any necessary plumbing fixtures. This is also the time to install proper insulation to meet building regulations.
Flooring and Finishing: Once the structural work is complete, focus on finishing touches like flooring, plastering, painting, and installing doors and windows.
Inspections and Approvals
Throughout the construction process, your local building inspector will make site visits to ensure compliance with building regulations. Address any issues they raise promptly to avoid delays.
Interior Design and Decorating
With construction complete and approvals in hand, it’s time to transform your new space into a functional and inviting part of your home:
Interior Design: Plan the layout and design of your dormer loft conversion. Consider the placement of furniture, storage, and any built-in features.
Flooring and Decor: Choose flooring materials and interior decor that reflect your style and create a comfortable living space.
Furniture and Fixtures: Select furniture and fixtures that make the most of the space while maintaining a sense of openness and functionality.
Final Inspections and Certifications
Before you can fully enjoy your new dormer loft conversion, ensure that all final inspections are completed, and you receive the necessary certificates of compliance and safety.
Enjoy Your New Space
Congratulations! Your dormer loft conversion is complete, and you now have a valuable addition to your home. Whether it’s a cozy bedroom, a productive home office, or a versatile playroom, make the most of your new space.
Maintenance and Care
To ensure the longevity of your dormer loft conversion, schedule regular maintenance checks. Check for any signs of leaks, inspect the roof, and maintain insulation to keep your new space energy-efficient.
In conclusion, a dormer loft conversion can be a rewarding project that adds significant value to your home while providing much-needed extra space. By following this step-by-step beginner’s guide, you’ll be well-prepared to embark on your dormer loft conversion journey with confidence and success. Remember to consult with professionals, obtain the necessary permits, and prioritize safety and compliance throughout the process. Enjoy the transformation of your home as you create a new, functional, and beautiful living space in your loft.


